
Appearance
Stock
Updated walkthrough (September 2026)
This hub was rewritten to match the current app. Delete Stock archives the items you pick (it does not hard-delete them), categories are added and edited on the Stock Categories screen itself, and Mass Stock Update works through six tabs (Printing, Cooking Link, Price Update, Tax Labels, Recipe Upload, Stock Settings). If your screen does not match the steps below, update your app or ask your supervisor.
Goal
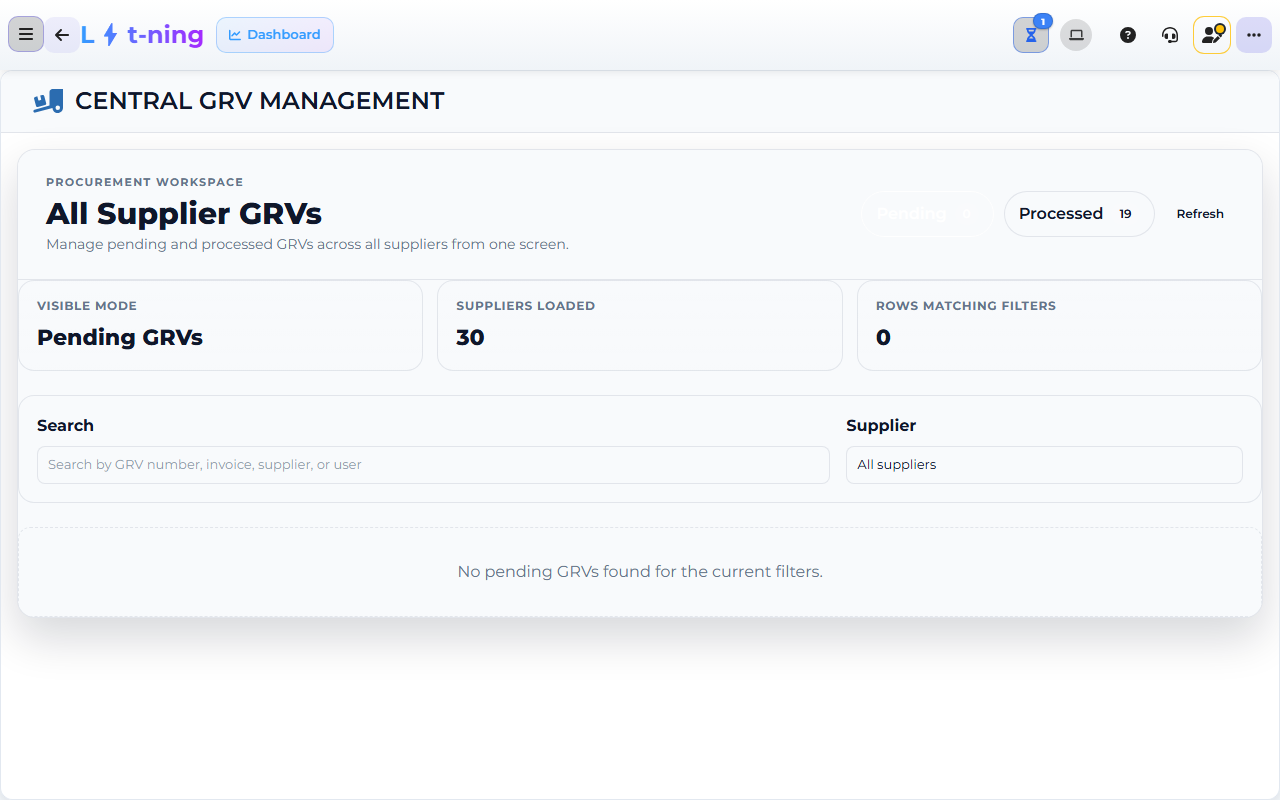
The image shows the Core App Central GRV Management screen. Screens may differ slightly by version.
Keep the stock record matching what is on the shelf, in the store room, or in the system — find, create, count, adjust, update prices, archive, and check expiry.
Where this happens
- In the back office (Core App): Stock Management group — Create Item, Edit Stock Item, Delete Stock, Stock Categories, Mass Price Edit, Mass Stock Update, Stock Adjustments, Expiring Stock, Stock Take.
- On the till (Retail POS App or Restaurant POS App): stock search is inside the POS screen.
Use this hub to find items, create or edit stock, count stock, correct quantities, update prices, and retire items.
Problem
You need the stock record to match what is on the shelf, in the store room, or in the system.
Prerequisites
- You are signed in to the correct store.
- You have the item code, barcode, or a clear description.
- For a stock take or adjustment, you have approval and the count written down.
Steps
Create an item
- In the sidebar, expand Stock Management and click Create Item. The Add New Stock screen opens.
- Under Item Details, type or scan the stock code into the code field, then click Confirm Code. The app checks the code is not already in use before you continue.
- Under Categories, pick the main and sub categories. If the category is missing, click the + button next to the dropdown and create it in the Create Stock Category box.
- Under Pricing, enter the cost and the selling price.
- Under Supplier Link, pick the supplier this item is bought from — the supplier is linked to the item when you save.
- Click SAVE ITEM. The app confirms Item Created Successfully.
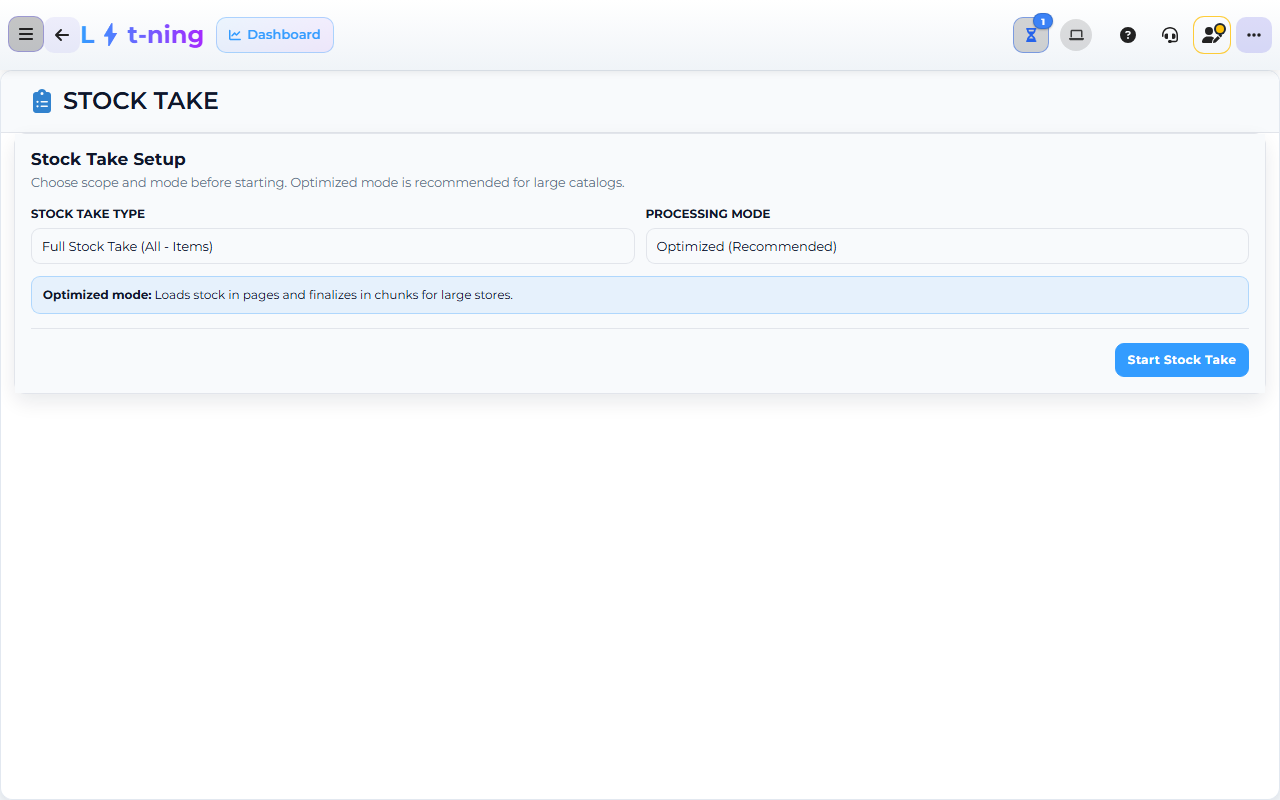
The image shows the Core App Stock Take screen. Screens may differ slightly by version.
Take a count of what is on the shelf
- Open Stock Management → Stock Take in the sidebar.
- Choose the Stock Take Type - Full Stock Take (All - Items), Department, Custom Stock Take, Import Stock Take, Below minimum, or Negative stock - and the Processing Mode your store uses.
- Scan or count each item, and enter the quantity you find on the shelf.
- Save the count when you finish the area or the day.
- Review the variance the system reports for each line, and investigate any large difference before you post the count — recount the line, check the last receipt, or ask your supervisor.
Edit a stock item
- In the sidebar, click Edit Stock Item. The Stock Search screen opens.
- Search by PLU, barcode, or description, then open the item.
- The Edit Stock Item page opens. Along the top are quick-function buttons: view the detailed item report, view the quantity across all franchise stores, Change item code, Print item label, quickly receive stock from a supplier, Convert stock to other items, and Produce this item (requires recipe) — the produce button opens the same production dialog used on the Production screen.
- Use Multiple Barcodes → Add Barcode to give the item extra barcodes.
- Under Available Qty, click Refresh breakdown to reload the quantity breakdown.
- Change the fields you need and click SAVE. An archived item cannot be saved — unarchive it first.
Retire an item (Delete Stock / archive)
Delete Stock in the sidebar does not hard-delete items — it archives them. Archived items are hidden from the till and the active stock list but stay in the system for reports and audit. This is almost always what you want: sales history, GRV history, and stock-take history stay attached to the item.
- In the sidebar, click Delete Stock.
- Under Select Category, pick the Main Category, Sub Category, and Sub-Sub Category the item sits in, then click View Stock.
- The Stock Items list opens. Use the search field (PLU, barcode, or description) to narrow it, and tick the items to retire.
- Click Archive Selected — the count on the button shows how many items you ticked.
- Confirm the Archive Stock prompt with Yes, archive it! — or back out with No, cancel!
- The app confirms the archive. Use Export if you want a copy of the list first.
Stock Categories
Categories group items so you can report on them, filter the till, and apply rules at the group level. They are managed on the Stock Categories screen itself — you do not need to ask an administrator to add one.
- In the sidebar, click Stock Categories.
- Next to Main Category, click + to create a new main category, or the pencil button to edit the selected one.
- The Sub Category and Sub-Sub Category rows work the same way — each has its own add and edit buttons. Removing a category asks for confirmation first.
- Assign items to categories from Edit Stock Item; they then appear as filters on the till and on Stock Reports.
Tip: keep the category list short. Long, overlapping categories confuse the till and the reports.
Make an adjustment
- In the sidebar, click Stock Adjustments. The Adjust Stock Qty screen opens.
- Search for the item and click it in the list.
- The Adjust Qty box shows the item description and its current quantity.
- Pick the adjustment type: Remove Stock(Damaged), Add Stock Qty(Miscount), or Set New Level.
- Enter the Adjustment Qty and a Reason — both are required.
- Click Adjust Qty to post the change.
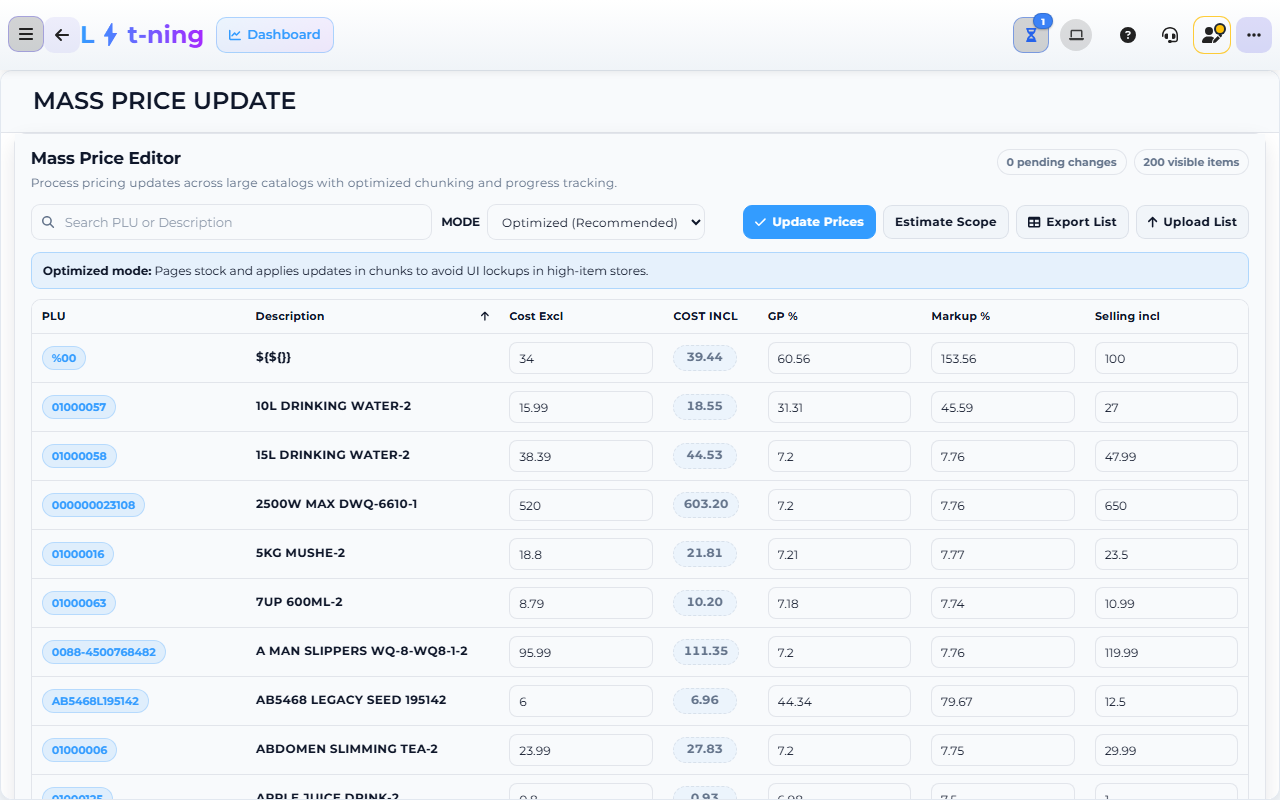
The image shows the Core App Mass Price Edit screen. Screens may differ slightly by version.
Update many prices (Mass Price Edit)
- In the sidebar, click Mass Price Edit. The Mass Price Update screen opens with the Mass Price Editor workspace.
- Search for the items to change (PLU or description) or browse by category.
- Edit Cost, GP, Markup, or Price on each row — the header shows how many pending changes you have.
- On large catalogues, click Estimate Scope first to see how many items the update will cover.
- Click Update Prices to apply — only rows you changed are sent, and a progress panel shows the rows applied.
- Use Export List to download the current list as a spreadsheet, or Upload List to import a completed price file.
Mass Stock Update (printing, tax, recipes, item settings)
Mass Stock Update changes one setting across many items at once. It has six tabs: Printing, Cooking Link, Price Update, Tax Labels, Recipe Upload, and Stock Settings.
- In the sidebar, click Mass Stock Update.
- Click the tab for the setting you want to change.
- Filter to the items you have approval to change, set the new value (for example, pick the printer number under Printing, or the price field, direction, and value under Price Update), then apply the update.
- Under Recipe Upload, download the template, fill it in, and upload it — the app asks you to confirm the upload.
- Under Stock Settings, item flags — including scale settings such as Best Before days and hotkey number — can be set for many items in one pass.
Check expiring stock
- In the sidebar, click Expiring Stock.
- Set the number of days in the Expiring in next filter (the default is 30) and click Refresh.
- The summary cards show Expired, Within 7 days, Within 30 days, and Depleted counts.
- Use the search field to narrow the list; the table lists each expiring batch with its days to expiry.
- Tick the batches you want to promote and click Create Special with Selected — the Create Special screen opens with those items already queued.
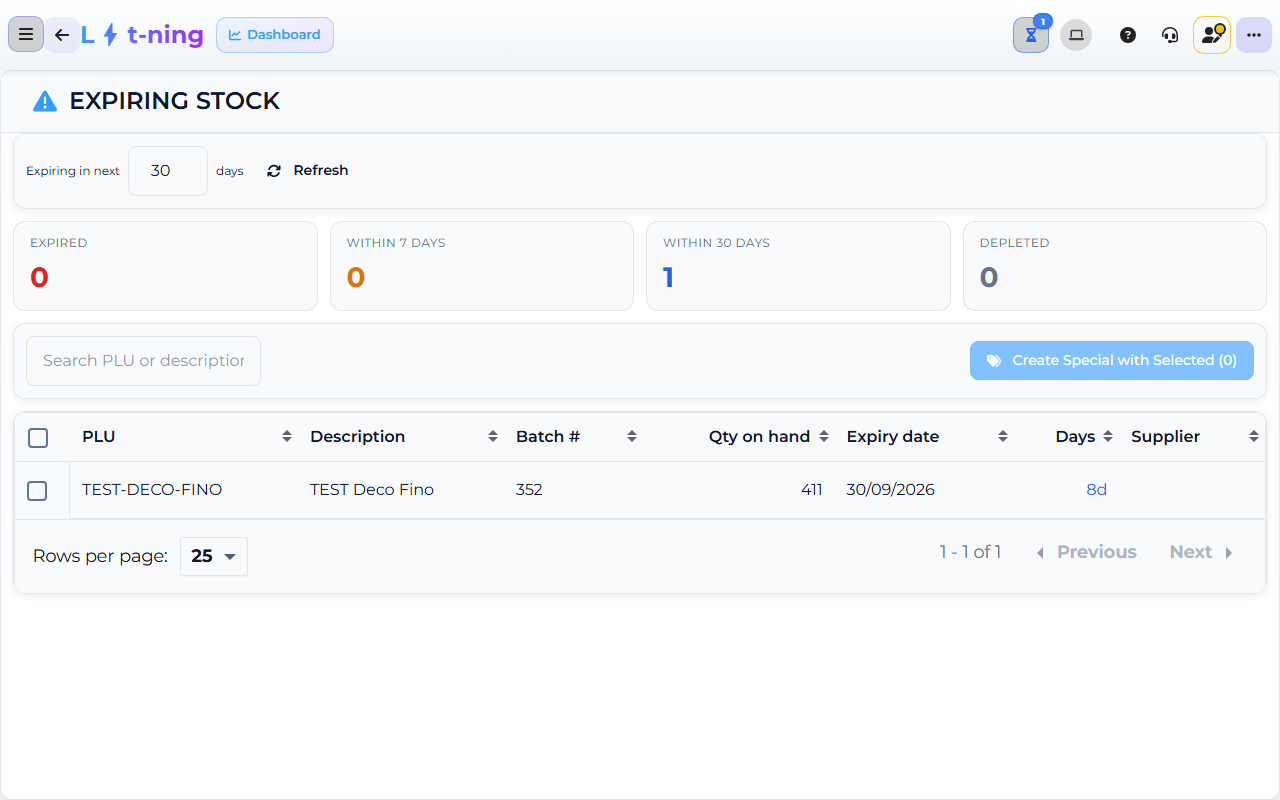
The image shows the Core App Expiring Stock screen. Screens may differ slightly by version.
Expected result
The item record, quantity, price, and status reflect the approved change, and a stock take or adjustment has a clear reason.
Edge cases
- A barcode finds the wrong item. Stop and compare the description and unit size before saving.
- A stock take has a large difference. Recount first; ask a supervisor before posting the variance.
- An item is missing. Search by description and category. If it still cannot be found, create it with Create Item.
- You archived an item by mistake. Open Edit Stock Item, find the item, and unarchive it — archiving is reversible.